A Quick Update on the Press
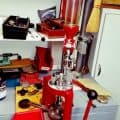
First off, I want to let you know I have a growing admiration for the Hornady LNL Auto Progressive press. The naysayers complaints just have not panned out. Based on others’ comparisons to the Dillon 650, about the worst thing I can say about it, in my experience, is that that it has a red paint-job instead of a blue one. That may change, but poised to do my first big run of 9mm, that is the size of it.
Grafs.com had the press and a stool for $450 back in March, and the price has dropped since then. Hornady is also throwing in 500 free bullets until the end of the year.
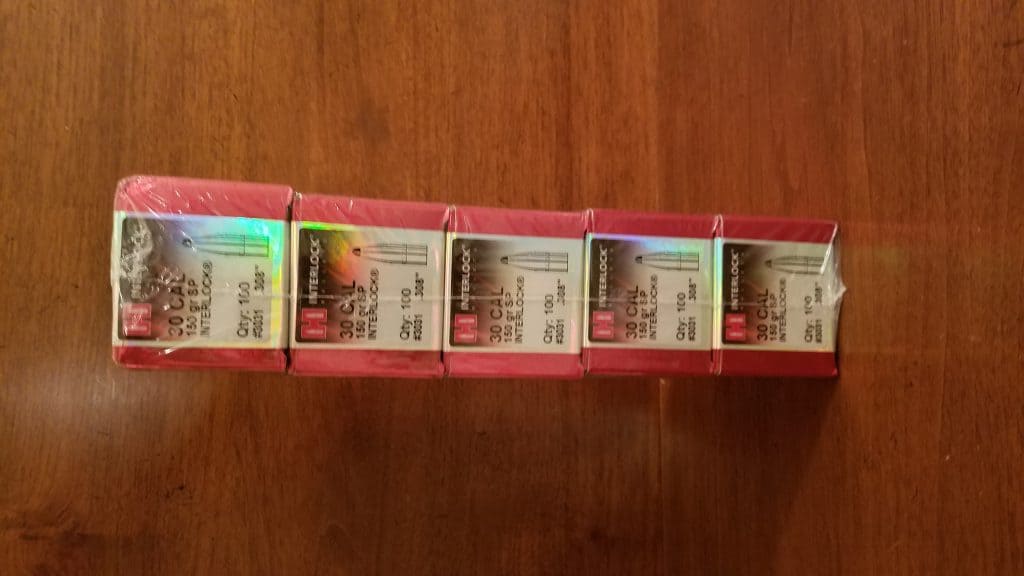
I submitted my paperwork with a check for $14.95 and 500 Hornady SP 150 grain SP’s showed up yesterday morning. They say to wait 12-16 weeks for delivery,
but I got mine in two. For me, that’s a near lifetime supply of deer bullets.
Here some hints I’ve found so far:
- Hornady keeps telling you to spray One-Shot on everything before doing anything else. I didn’t have any One-Shot cleaner/lubricant, and the stuff costs $15/can. What I did use was a combination of kerosene and alcohol to do the initial cleaning followed by some PB Blaster dry lubricant. Spray on, wipe off as much as you can. That’s enough.
- I’ve got a well-lit room, but I really needed some additional lighting on the press. The dedicated lighting offered by Hornady is kind of expensive, but for $10 bucks, I got this little gooseneck lamp.data:
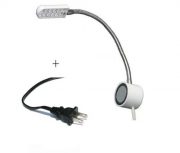
This little thing is bright. It’s all I need.
3. A lot of people complain about the manual supplied by Hornady. I watched several of Youtubes on the press before opening the box, and I did not have a problem understanding things. One thing I can say is the information is all there. It is not always immediately accessible, but it is there. The parts about configuring PTX die are a little eccentric, but nothing is missing. One fellow complained in an online forum that it was too touchy: that less than an eighth of a turn separated no expansion from splitting the brass. I had plenty of room to get the expansion just right. All I can say is this fellow was doing it wrong.
4. Hornady wants you to spend $50 or more to buy the tool rack for the various wrenches and such that are required. I had a spare 1-tray tackle box, and everything for this press, including spare parts, tools and shellplates fit in it. For immediate use, I just keep the handful of allen wrenches attached to the magnetic base of the lamp. Go through the list of tools needed at the start and go fill any holes.
5. One of the big gotchas on this press is the bolt that holds the shellplate on. If you’re not reading the instructions correctly, you might think it needs to be really cranked down. DONT! There is a big honking hex wrench included to tighten it, but tightening it just enough to get the detent to slip is enough.
6. Another gotcha is the circular spring that holds the shells into the shellholder. This is an ingenious system, but it takes a little familiarization. Follow the installation instructions very carefully. It does take a couple full revolutions of the shellplate to get the spring aligned. When it is, the spring is bent down a little to let the finished shell eject.
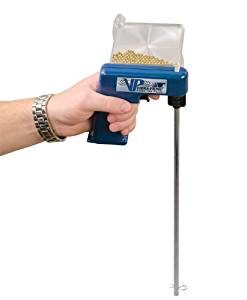
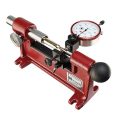
7) The primer feed works like a charm, but it takes a little learning. Also, picking up primers is dull tedium. I sprang for this:
This works like magic on filling the tubes. I also bought extra tubes on Ebay, 4 for $18 bucks.
I had a devil of a time though, loading the primers into the press until I figured out I was using the LARGE primer tube instead of the one marked SMALL Duh. It’s the little things that get ya.
8. About the only real hassle I have had to date was having to align the alignment pawls. These are two little dinguses (dingi?) on the bottom of the press that regulate how far the shellplate advances on the up and down cycles. Things were going great and I was just about ready to do a test run of 100 rounds when all hell broke loose on the press. Nothing fit. Brass was getting crushed. It took me 2 hours to figure out it was a minor adjustment on these two pawls. Now that they are set, I am ready to rock.
9. If you have been skating on eye protection with your reloading up until now, a progressive press makes it almost mandatory. The reason is the way primers are handled– a hundred or more together in a stack. This press has a stainless steal shield that keeps the blast contained, but my buddy SuperCore has had a chain-reaction blast from 100 primers go off on his Dillon 650. The blast peppered his face with fragments. If he’d not been wearing protection it might have been bad. I sprang for a new set of goggles for this press: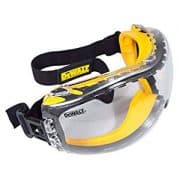
They’re Dewalt. They’re under $10 and they work well with eyeglasses. You must need to make a slit in the rubber for them to fit through. These are the most comfortable eye protection I’ve ever owned. They are awesome. I can pull a 4 hour stretch without discomfort or fogging.
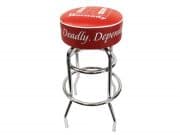
10. Oh! One last thing and that’s the stool. Guys on the 24hourcampfire.com were making fun of the stool. Is it worth
$150 list? I don’t think so. Was it worth free? You bet. It is tall enough for me. I’m 6’4″. It is sturdy enough to hold my 300 lbs. It also lets me sit for hours without my butt complaining. My previous perch was a bar stool I pulled out of the trash. This is heaven.
This post has already been read 357 times!
Views: 6

Comments
A Quick Update on the Press — No Comments
HTML tags allowed in your comment: <a href="" title=""> <abbr title=""> <acronym title=""> <b> <blockquote cite=""> <cite> <code> <del datetime=""> <em> <i> <q cite=""> <s> <strike> <strong>