Bubba Paints His Turkey Gun
Whenever you start talking to gun snobs, every little thing a normal person does to their gun is a “Bubba Job.” The definition, as I have been able to refine it is
1)n: any modification to a firearm that the perpetrator did not know how do when he started.
2)n: any deliberate modification to a firearm that detracts from its resale value
3)vt: To Bubba a firearm is to make such modification as described above.
I personally have no qualms about doing a Bubba Job on a firearm. I have taken a belt sander to the cheek piece of my Remington 1100 trap gun to remove the sharp edge of the stock so I did not get belted in the face. I have replaced a broken $10 screw on a scope with a 50-cent bolt from the hardware store. These are cosmetic changes, and they do not affect the safe functioning of the firearm. Spray painting my turkey gun was not going to be a big stretch.
As I removed the shotgun from storage right after Christmas, I realized it was time to Bubba-up. It was a 12 GA Mossberg 500, the Viking variant, that I had picked out of the scratch and dent sale at Dicks back in 1996. The shotgun sported the cheapest looking green plastic stock and forearm I have ever seen on a firearm. The color and texture reminded me a bit of the plastic army men I had as a kid. The Mossberg 500 with its painted receiver is not all that impressive when it is pristine. This one came into the world looking pretty bad, but it was cheap. I think I got it for about $100 off normal price. The original barrel was bent, but Mossberg sent me a new ported one for free.
I had thought about doing a spray paint job way back then, but I found a vinyl decal in one of the hot new camo patterns for that year and decided that $27 worth of decal would look better than $12 worth of spray paint. I was right. It looked like a factory job– at least until a few years ago. One of the problems I encountered was that I had both a 28” turkey barrel and a rifled deer barrel. There was only enough decal for one barrel, so that went on the deer barrel. I used a fabric camo tape to cover the turkey barrel.
The deer barrel still looks new. The turkey barrel took a turn for the worse a few years ago. It was falling off when I took the shotgun out of the safe this year. I had also ripped the vinyl in a few spots, especially around the pistol grip. Year after year I had sworn I would do something about it, but every summer the turkey gun went back in the safe and every winter it came back out and I thought I could get another year out of it. No more.
After doing some research online, I decided that Krylon’s Camouflage paint would be the best choice for me because it uses that new Fusion formulation that bonds to plastic. I bought a can of each of the three colors and a can of the matte clear coat spray. I have also seen some good jobs done with De-Rusto, bedliner spray, and Cerrokote. The latter is a bake-on finish that is nearly impervious. However, the plastic stock and forearm would not have withstood the heat.
The adhesive on the vinyl decal was no problem. The fabric tape, however, was completely rotten. I was going to have to degrease the shotgun completely anyway, so I went at the barrel with Acetone and some steel wool. The old adhesive came off grudgingly. When I was done, I was glad I was covering up that barrel with paint– the bluing had not held up well at all. Let this be a cautionary tale for those wishing to tape their barrels.
Next, I masked everything that should not be painted. I recommend a small-town newspaper for this task. I had a fairly recent copy of the Bracken County News. A big town newspaper has just so much national news and entertainment. You need to be thinking slow and easy. A job like this calls for the church news, the farm report, and the county docket. I put a wad down an unused choke tube to close off the barrel. For the rest I used strips of newspaper and half-inch masking tape. When taping over large holes like the shell ejector, I folded up a big wad of paper and stuffed it in and then taped over it. For the trigger guard, I made a little tent of newspaper and then taped it to the receiver. On the scope, I taped off the ends and also the variable ring.
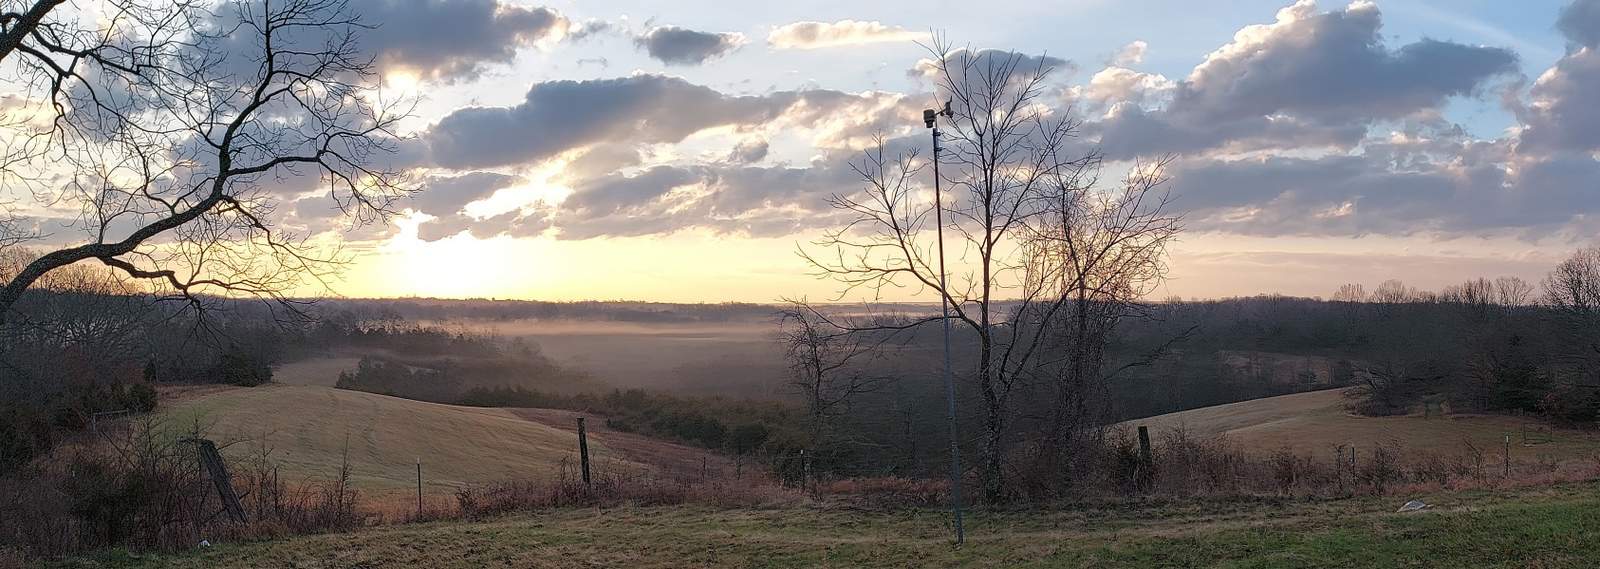
As I said, I had three colors to work with: Khaki, Green, and Black. I laid down a coat of Khaki and then let it dry for a while and then came back and re-coated it with black. By using two contrasting colors, it was easy to see what I was missing. I did one side and then went and sipped my coffee. The paint dries to touch in a few minutes, so I could go back and do the other side.
After lunch, I started applying the pattern. The pattern I had in mind was going to be yellow grass over green cedar boughs– yeah right. On the way home from Walmart with the paint, I cut some grass from the edge of the parking lot and then stopped at an embankment on the side of the road and snagged some green cedar sprigs. It was a good thing I experimented on a test patch of the cardboard I had laid out to catch the drips.
Plan A proved just too hard to pull off. I had originally planned to lay out a mostly-green coat, then use the cedar as a stencil spraying the Khaki. That would leave me with green cedar amid splotches of Khaki. I would then go back over with the grass as a stencil and use the Black paint. The first stencil worked wonderfully, but the grass was just not right. The cedar looked great so I just went with that. After using one sprig for a couple spritzes, I would toss it off to the side and then grab another. This kept the wet paint that accumulated on the cedar from dripping onto the gun.
After about an hour of laying down a few spritzes here and there with the various cans, I let it all sit and dry. I then came back and hit it with two coats of the matte clear-coat. Done.
As a Bubba job, I would call it excellent. I have seen a lot worse in the hands of much better turkey hunters than me. It probably could have been done better by an expert airbrush artist. However, there is something to this method that is much better than the camo finish on an $800 factory shotgun– you never have to worry about wrecking it! Bubba has already wrecked it for you. In fact, if I scratch mine up in the field, it will probably improve it a little. If it gets really beat up, I have the means for fixing it sitting on the shelf at home– try that with your 3-D High-Def super-duper film decal. I dare you.
The one thing you have to do when your are working on a project like this is to keep reminding yourself that it is just a dang turkey gun, and the turkeys are not going to mind. Secondly, remember that any mistake you make can be taken care of with a little more paint. After the last coat of clear dried, I was so impressed with my handiwork, I dragged out the rifled deer barrel and did that too before I cleaned up.
Let me give you three hints to make this an easy clean job. If this were good weather, I would have done it outside, but the outside temperatures were in the twenties and it was snowing. The biggest spot I had to work was in the Dining Room. Stray paint was not an option. For starters, I used a large corrugated box split in half and laid up against the wall on which to work. Second, I ran a box fan with a furnace filter stuck against the back.
The stray spray paint fog got sucked up right into the fan and stuck on the filter. Third, I used a clamp light with a fairly bright bulb that added some heat to the situation. The box kept the spray from going onto the wall and floor, the fan kept the aerosol from floating out into the room and aided drying. The heat from the clamp light also accelerated the drying.
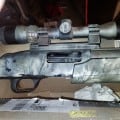
Here’s another gun I did for my buddy, SuperCore. For this one, I found a can of brown Fusion.
This post has already been read 5629 times!
Views: 6




Nice work Shaman. I am getting ready to do a DIY camo paint job on my Mossberg 835, pretty much identical to your 500. I’m nervous about painting areas of the gun that would adversely affect the performance of the gun. Was there anything that you painted that made the function of the gun bad. Any issues in the way the gun cycled rounds or did the safety stick after spraying it? Thanks.
Jared
I’ve had no problems, but I was super careful my first time out. For instance, I kept paint off the magazine slide. Later I found out there it really did not make any difference. Just don’t go hog-wild and paint things shut.
Pingback:What (Still) Makes a Great Turkey Gun - Genesis9:2-4 Ministries
Pingback:Bubba Paints His Turkey Gun Again – Genesis9:2-4 Ministries